


Conductive Ink Pen Electronic Circui Draw
Out Of Stock
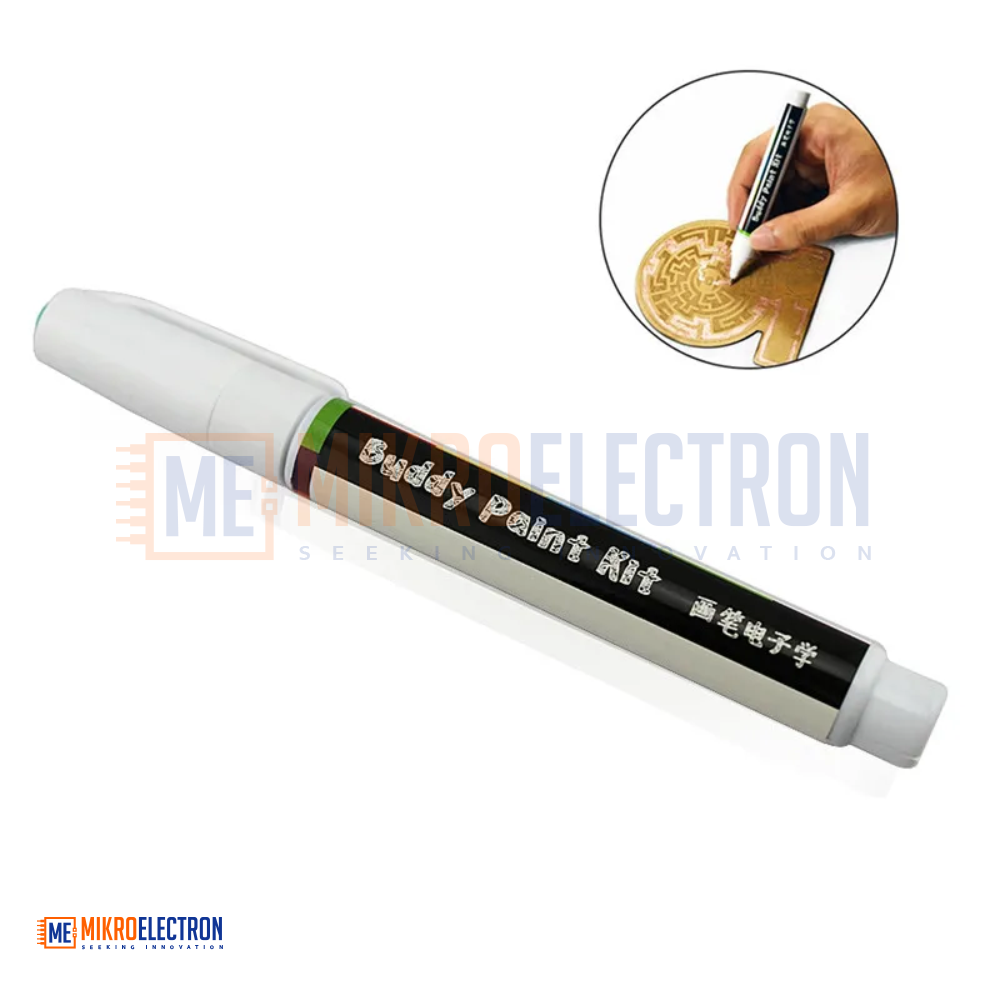
Conductive Ink Pen — Electronic Circuit Draw (Buddy Paint Kit)
The Conductive Ink Pen is an innovative drawing tool that lets you literally draw working electronic circuits on paper, wood, plastic, glass, or fabric. Filled with a silver, copper, and nickel-based conductive paint ("Buddy"), the ink dries in 2–3 minutes at room temperature to form a conductive trace that carries electricity. Perfect for DIY electronics, paper circuits, LED art, prototyping, repairing broken PCB traces, and STEM education. Capacity: 6ml.
قلم الحبر الموصل للكهرباء هو أداة رسم مبتكرة تتيح لك رسم دوائر إلكترونية حقيقية تعمل على الورق والخشب والبلاستيك والزجاج والقماش. يحتوي على طلاء موصل مكوّن من مسحوق الفضة والنحاس والنيكل (Buddy)، يجف خلال 2 إلى 3 دقائق في درجة حرارة الغرفة ليُكوِّن مساراً موصلاً للكهرباء. مثالي لـمشاريع الإلكترونيات اليدوية، الدوائر الورقية، فنون LED، النماذج الأولية، إصلاح مسارات لوحات الدوائر المكسورة، والتعليم العلمي (STEM). السعة: 6 مل.
The Buddy Conductive Ink Pen is a fun, creative, and practical tool that opens up a whole new dimension of electronics: you can literally draw working circuits with a pen. Instead of soldering wires or etching PCBs, you simply draw your circuit traces the same way you would draw a line — and the ink conducts electricity once it dries.
The pen is filled with a specially formulated conductive paint called "Buddy", whose main ingredients are finely milled silver, copper, and nickel powders suspended in a quick-drying carrier. After application, the ink air-dries in 2 to 3 minutes at room temperature and forms a flexible, conductive layer that can carry enough current to light LEDs, drive small motors, connect sensors, or repair broken PCB traces.
The pen features a smooth ball-tip applicator for precise line drawing, similar to a paint marker. It works on a wide variety of surfaces, including paper, cardboard, wood, plastic, glass, fabric, and even PCB substrates, making it ideal for paper electronics, interactive art, wearable projects, fast prototyping, classroom STEM activities, and quick field repairs.
The Buddy Conductive Ink Pen is widely used by makers, students, designers, electronics hobbyists, and educators who want a fast, solder-free way to build and experiment with circuits. It's especially popular for paper circuits combined with coin cell batteries and LEDs to create greeting cards, posters, and educational projects that come alive.
Important usage notes:
- Shake the pen well before use to mix the metallic particles evenly with the carrier liquid.
- Maintain a continuous, uniform line while drawing — gaps or thin spots can break the circuit.
- Allow 2–3 minutes of air-drying before connecting power. A second coat improves conductivity for longer or higher-current traces.
- If the circuit is not conducting, use a multimeter in continuity mode to find the break, then redraw over that section.
- Keep the cap closed when not in use to prevent the ink from drying out.
Specifications
- Product Name: Buddy Conductive Ink Pen
- Paint Name: Buddy (conductive paint)
- Main Composition: Silver + Copper + Nickel conductive powder in liquid carrier
- Capacity: 6 ml
- Dry Time: 2–3 minutes (air dry at room temperature)
- Curing Method: Air dry — no heat or oven required
- Tip Type: Ball-tip applicator
- Drawing Surfaces: Paper, cardboard, wood, plastic, glass, fabric, PCB
- Conductivity: Good — sufficient for LEDs, low-current sensors, and trace repair
- Color (when dry): Metallic silver/grey
- Reusable: Yes (until ink is consumed)
- Storage: Keep tightly capped, store upright at room temperature
How to Use
- Shake the pen vigorously for 30–60 seconds to mix the conductive particles.
- Press the tip gently on a piece of scrap paper until the ink starts flowing.
- Draw your circuit with one continuous, uniform line between the components.
- Wait 2–3 minutes for the ink to air-dry. Apply a second coat if needed.
- Place components (LEDs, batteries, resistors, etc.) on the traces, or attach with copper tape / conductive tape.
- Power up the circuit and enjoy your hand-drawn electronics.
- If a section doesn't conduct, check for breaks with a multimeter and trace over them again.
Applications
- Paper circuits — light up greeting cards, posters, and books
- DIY electronics prototyping without soldering
- LED art projects and interactive displays
- Repair of broken PCB traces in damaged circuit boards
- STEM and STEAM education — schools, classrooms, and workshops
- Wearable electronics on fabric and clothing
- Touch sensors and capacitive switches drawn on paper or plastic
- Conductive jewelry and craft projects
- Antenna prototyping for low-frequency circuits
- Interactive posters and installations
- Maker space and hackathon projects
- Quick circuit sketches during design and brainstorming
- Children's electronics learning kits