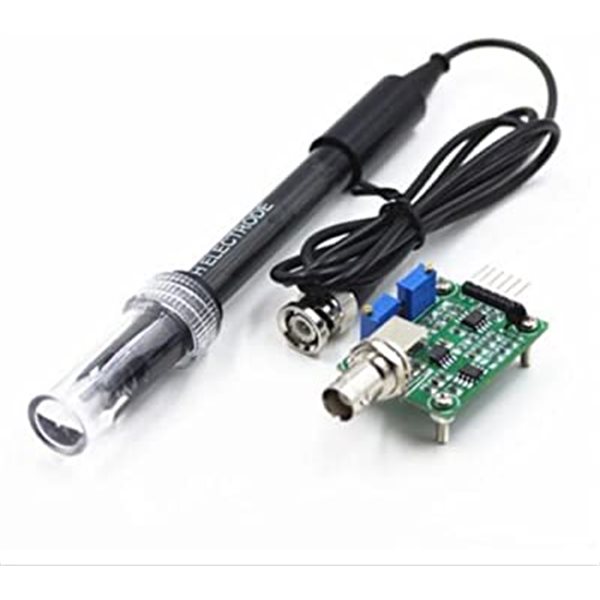
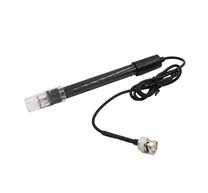
PH Electrode Sensor and Module Board
Description:
- 100% Brand new and high quality
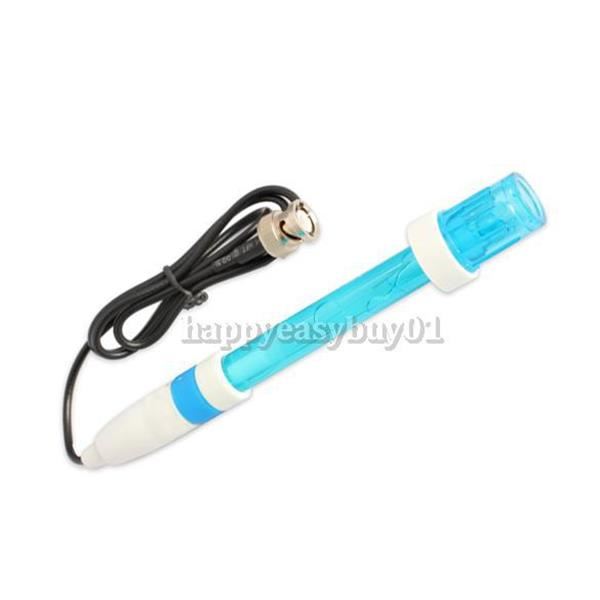
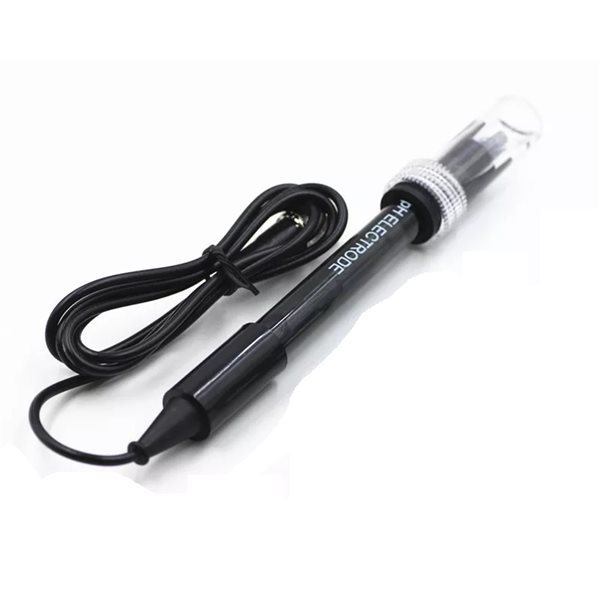
- BNC connectorsuitable for most pH meter and controller with BNC connector.
- Suitable for wide range of application: AquariumsHydroponicsLaboratory etc.
- Measurement range: 0.00~14.00 PH
- Zero-point: 7 +- 0.5PH
- Alkali Error: 0.2PH
- Theoretical Percentage Slope: ≥98.5%
- Internal Resistance: ≤250MΩ
- Response Time: ≤1min
- Operating Temperature: 0-60ºC
- Terminal Blocks: BNC plug
- Cable length: Approx. 70cm


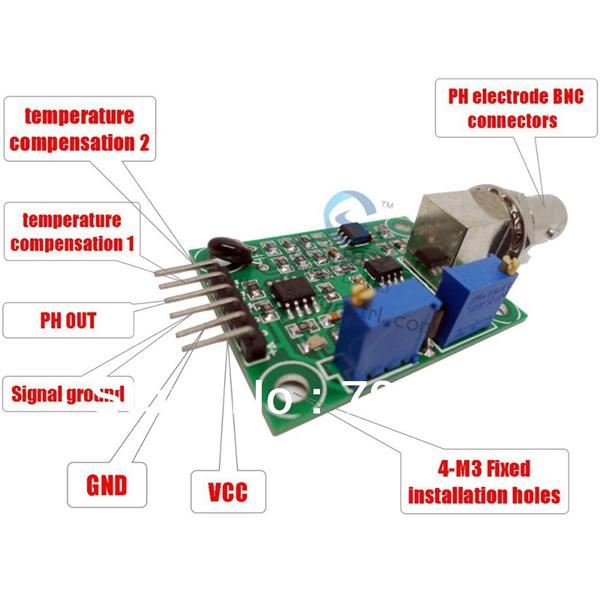
Simple Arduino pH-meter using PH-4502C

Note:
NEED 1 AMPERE POWER
Features:
- 1heating voltage: 5±0.2V (AC -· DC)
- 2working current: 5-10mA
- 3the detection concentration range: PH0-14
- 4the detection range of temperature: 0-80 centigrade
- 5the response time: ≤ 5S
- 6stability time: ≤ 60S
- 7power consumption: ≤ 0.5W
- 8the working temperature: -10~50 centigrade (the nominal temperature 20 centigrade)
- 9working humidity: 95%RH (nominal humidity 65%RH)
- 10service life: 3 years
- 11size: 42mm x 32mm x 20mm
- 12weight: 25g
- 13the output: analog voltage signal output
Kit include:
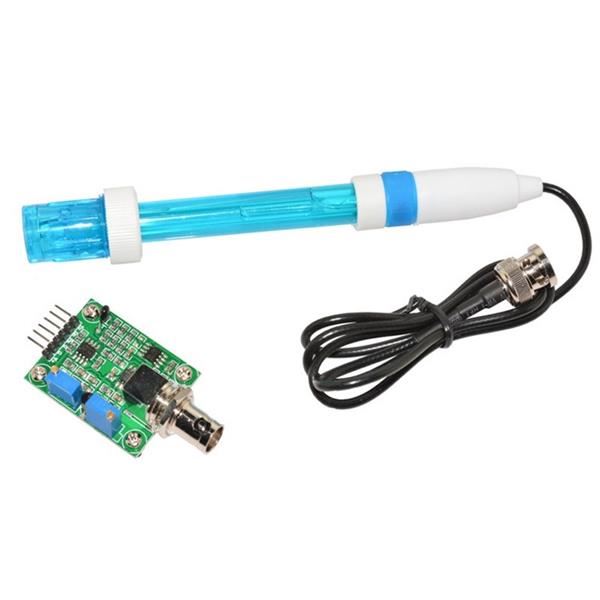
1 x PH Electrode
1 x Module Board
Mikroelectron Code:
#include <Arduino.h>
int pHSense = A0;
int samples = 10;
float adc_resolution = 1024.0;

void setup()
{
  Serial.begin(9600);
  delay(100);
  Serial.println("cimpleo pH Sense");
}

float ph(float voltage){
  return 7 + ((2.5 - voltage) / 0.18);
}

void loop(){
  int measurings=0;
  for (int i = 0; i < samples; i++)
  {
    measurings += analogRead(pHSense);
    delay(10);
  }
    float voltage = 5 / adc_resolution * measurings/samples;
    Serial.print("pH= ");
    Serial.println(ph(voltage));
    delay(3000);
}
Related Products
subscribe to our weekly newsletter


