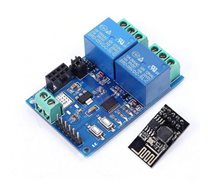
Wireless 4 channel RF Remote Control Switch DC12V 4CH relay Receiver Module
Description:
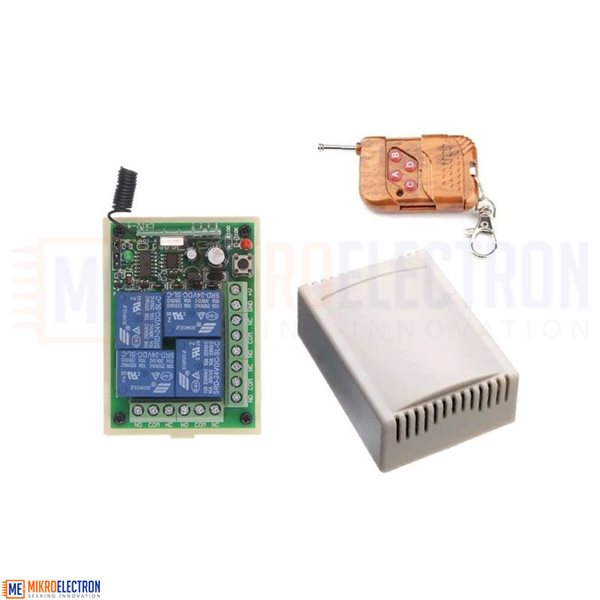
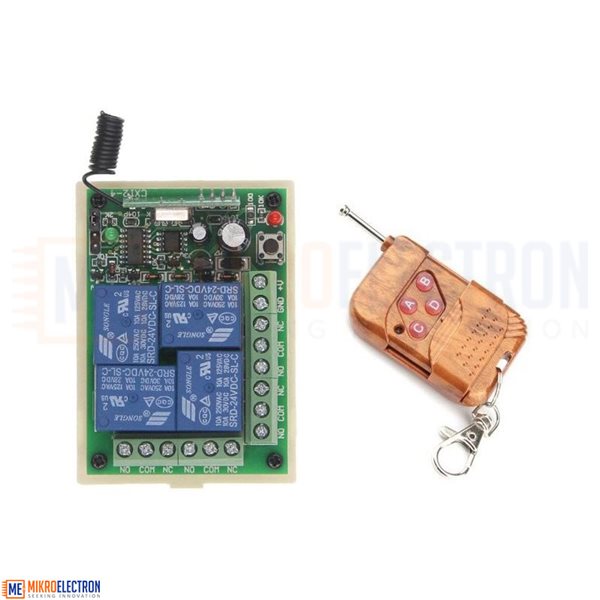
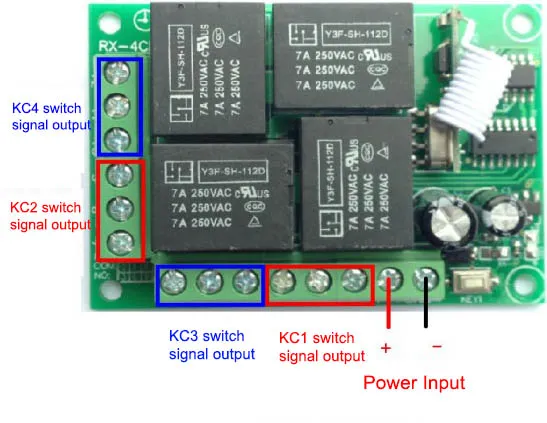
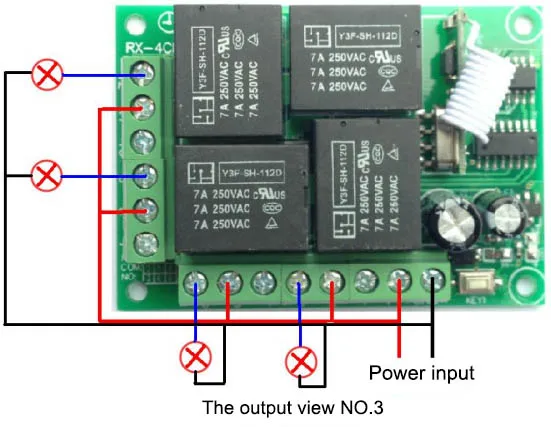
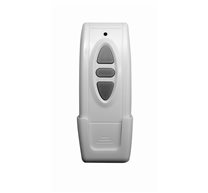
433Mhz Universal Wireless Remote Control Switch DC12V 4CH relay Receiver Module With 4 channel RF Remote 433 Mhz Transmitter

Note:
Function description and setting method:
* Note: All the following working modes need to be implemented with QIACHIP brand remote control (transmitter) and controller (receiver / wireless remote control switch). There is no guarantee that remote controls from other brands will work properly.
This product requires a four-button remote control.
Reset function:
Clear all matched remotes. When the data is cleared, all remote control can't make receiver work.
Settings reset:
After pressing the receiver's learning button 8 times, the receiver clears all remote control data in its memory. When the receiver's LED flashes, the reset function is complete.
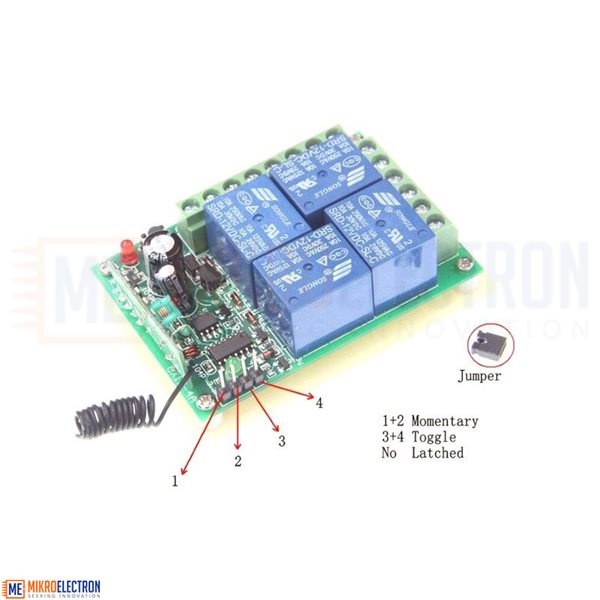
Description of the three working modes :
Working modes: 1) Momentary; 2) Toggle; 3) Latching.
1) Momentary mode:
After successful pairing in this mode, press and hold the remote control button (such as A), the corresponding relay on the receiver is turned on; release the remote control button (such as A), and the corresponding relay on the receiver is turned off;
2) Toggle mode:
After successful pairing in this mode, press the remote control button (such as A) to turn on the corresponding relay on the receiver; press the remote control button (such as A) again to turn off the corresponding relay on the receiver;
3) Latching mode:
After successful pairing in this mode, press the remote control button (such as A), the receiver relay corresponding to A is turned on; press the remote control button (such as B), the relay on the receiver corresponding to A is turned off, and the receiver corresponding to B is turned on the relay is open. And so on, press the remote control A and B at the same time, the receiver will turn off.
How to set the working mode of the switch controller?
Note: The working mode can only be set when the LED indicators of the switch controller are lit and reset.
Set Momentary mode (Jog):
Step 1) Press the receiver's learning button once.
Wait for the LED on the receiver to light up and enter the setting state.
Step 2) Press the button on the remote control (eg button A) once. The LED on the receiver will flash and then turn off. The jog mode is set successfully.
Set Toggle Mode:
Step 1) Press the learning button on the receiver twice.
Wait for the LED on the receiver to light up and enter the setting state.
Step 2) Press the button on the remote control (eg button A) once. The LED indicator on the receiver will flash and then turn off. The self-locking mode is set successfully.
Set Latching Mode:
Step 1) Press the learning button on the receiver 3 times.
Wait for the LED on the receiver to light up and enter the setting state.
Step 2) Press the button on the remote control (such as button A) once. The LED on the receiver will flash and then turn off, and the interlock mode is set successfully.
2CH Momentary + 2CH Toggle: Press the learning key on the receiver board 4 times ( LED Indicator on receiver board will flash simultaneously), then press any key on the remote control, LED indicator on the receive flashes 3 times indicates pair successfully.
2CH Momentary + 2CH Latched: Press the learning key on the receiver board 5 times (LED Indicator on receiver board will flash simultaneously), then press any key on the remote control, LED indicator on the receive flashes 3 times indicates pair successfully.
2CH Toggle + 2CH Latched: Press the learning key on the receiver board 6 times (LED Indicator on receiver board will flash simultaneously), then press any key on the remote control, LED indicator on the receive flashes 3 times indicates pair successfully.
2CH Latching + 2CH Latched: Press the learning key on the receiver board 7 times (LED Indicator on receiver board will flash simultaneously), then press any key on the remote control, LED indicator on the receive flashes 3 times indicates pair successfully.
Kit include:
|
|
Quantity |
|---|---|
|
In stock
|
|
Related Products

subscribe to our weekly newsletter
We are an online electronics store based in Jordan-Amman. The products we sell ranges from electronic products to modules and much more.
- AMMAN, Jordan. University Street, Khalifa Building 3rd floor
- Mobile: +962 7900 621 96, +962 65344772, +9627 8877 5522
- Phone: +962 6 5344772
- Fax: +96265344778
- Email: info@mikroelectron.com

2024 © Mikroelectron. ALL Rights Reserved. | Distributor Area
Made With By Tashfier.